It took me way too long to figure out why PNGImageDecoderPlugin
couldn't load WebServer_localhost.png -- turns out it's a jpeg file.
3.6 KiB
Transferring files from QEMU to your host machine
Method 1: WebServer
Serenity has a built-in web server which extends to your host machine.
Open a new terminal and use the following command to start a WebServer instance for the current working directory:
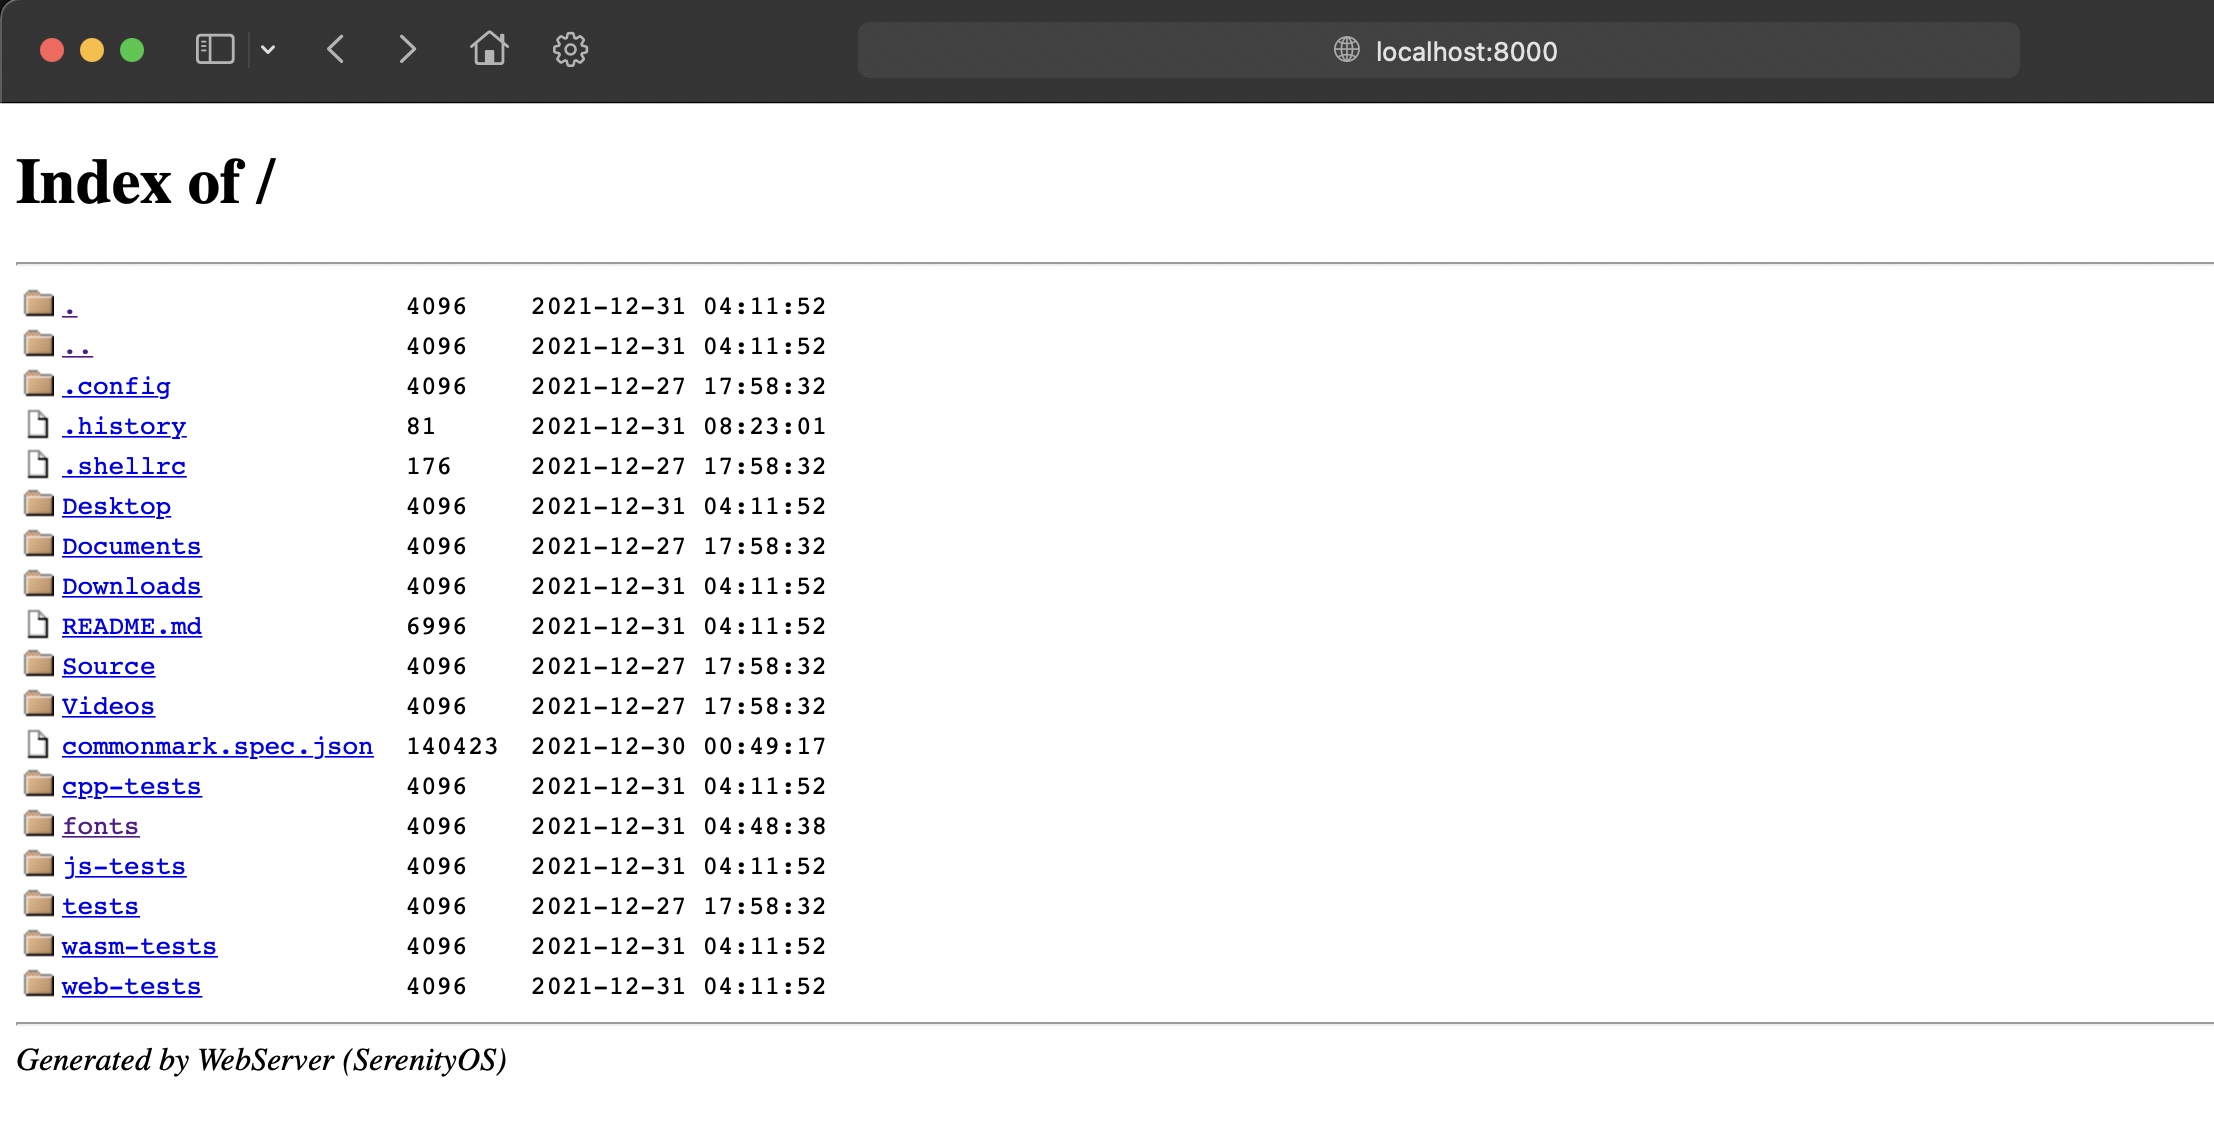
ws .
Then we just open localhost:8000 on our host machine :^)
NOTE: Due to the fact that some browsers download unrecognized files as plain text, you may want to use something like wget to download the file as is instead. Otherwise the file may appear corrupted when the system tries to load it.
Method 2: Mount the disk image
Another way is to mount Serenity's _disk_image to your host machine by using the following command on *nix systems (or inside WSL):
cd "Build/${SERENITY_ARCH}"
mkdir mnt
sudo mount -t ext2 _disk_image mnt
Method 3: Archiving tool with ext2 support
Some archiving tools, like 7-Zip, are capable of directly opening ext2 images like Serenity's _disk_image. With these, you can open the disk image like any other archive and extract the files you need.
For WSL users: If you have the image on your native WSL drive (recommended), this drive can be opened in Explorer by manually opening \\wsl$ (not visible in the Network tab!) and then the "network share" corresponding to your distro.
Method 4: Enable OpenSSH on host and use sftp client on SerenityOS
- Setup OpenSSH server on your host. For windows: Google is your friend (https://docs.microsoft.com/en-us/windows-server/administration/openssh/openssh_install_firstuse) For linux: Google is your friend.
- Ensure that you already have a working SerenityOS working build.
$ Meta/serenity.sh rebuild-world
- To enable OpenSSH package from SerenityOS: (initial directory is SerenityOS ROOT_DIR)
cd Ports
cd openssh
./package.sh
cd ../..
Meta/serenity.sh run
- From within SerenityOS, check that you have a working sftp app:
courage:~ $ sftp
The expected response will be:
courage:~ $ sftp
usage: sftp [-46aCfNpqrv] [-B buffer_size] [-b batchfile] [-c cipher]
          [-D sftp_server_path] [-F ssh_config] [-i identity_file]
          [-J destination] [-l limit] [-o ssh_option] [-P port]
          [-R num_requests] [-S program] [-s subsystem | sftp_server]
          destination
- Assume that you have a working OpenSSH server as mentioned earlier, with an IP address of 192.168.0.11.
- Assume that you have a valid user on that host with account name user1.
- Assume that you are currently inside the folder from which you want to transfer the file(s) from.
- Local User: anon
- Remote User: user1 IP Address: 192.168.0.11
- Connect to remote server via sftp
courage:~ $ sftp user1@192.168.0.11
The authenticity of host '(192.168.0.11)' can't be established.
ECDSA key finger print is SHA256:Iav!m/E0cHJBnzSk0hJEZnBZ2F3LBL4wxhyv4nrfPtU.
Are you sure you want to continue connecting (yes/no/[fingerprint])? yes

user1@'s password:
Connected to 192.168.0.11
- By this time, you have successfully connected and logged on to the remote host.
- You can get more information by typing
help. - The most often used (simplified) sftp commands are
ls,cd,put [filename],get [filename], andquit. I said simplified since the actual commands have many more options. - Be aware that there will be a time you would think that nothing is happening since the cursor just stares back at you. It is always waiting for your next instruction. Typing
quitorbyewill close the program. - Congratulations. Pat yourself at the back.