5 KiB
Setting Up Development Dependencies on Windows
You will need to install these tools on your machine:
- Node.js
- Yarn
- Python 3
- Visual C++ Build Tools
Node.js
Let's see if you have the right version of node installed. Open a shell and
run this command:
$ node -v
If you see an error about being unable to find node, that probably means you don't have any Node tools installed.
You can download Node from the Node.js website, install the package, and restart your shell.
You can verify that your installed version matches the one currently used by GitHub Desktop by looking at our .node-version file. Usually the same major version is enough but if you're running into problems building Desktop please try installing that exact version.
Node.js installation notes:
- make sure you allow the Node.js installer to add
nodeto thePATH.
I need to use different versions of Node.js in different projects!
We currently support nvm.
Configuring nvm
-
Install
nvmusing the instructions here. -
Within the Desktop source directory, install the version of Node.js it requires:
$ nvm install
- Ensure you are running the right version:
$ nvm use
- Verify you have the right version by running
node -vagain:
$ node -v
If you see any version number, you're good to go.
Yarn
Follow this guide to install
a system-level yarn. GitHub Desktop uses a local version of yarn, but it
needs a version on your PATH to bootstrap itself.
This is important because yarn uses lock files to pin dependencies. If you
find yourself changing packages, this will prevent mismatches in versions
between machines.
If you're not familiar with yarn, please read this document
to help familiarize yourself with how to do the common package tasks that are
relevant to Desktop.
Python
Open a shell and run this command:
$ python --version
If you see the output Python 3.9.x, you're good to go!
If you see an error about being unable to find python, that probably means you
don't have Python installed. You can install Python 3.9 from the
Python website.
Python installation notes:
-
Let Python install into the default suggested path (
c:\Python39), otherwise you'll have to configurenode-gypmanually to look at a different path. -
In case you already have or need to have Python on a different path, set the
PYTHONenvironment variable or npm'spythonconfig key to your Python's executable path:npm config set python "c:\path\to\python3\python.exe" -
Ensure the Add python.exe to Path option is selected.
Visual C++ Build Tools
To build native Node modules, you will need a recent version of Visual C++ which can be obtained in several ways:
Visual Studio 2019
If you have an existing installation of VS2019, run the Visual Studio Installer (Tools > Get Tools and Features...) and check that you have the Desktop development with C++ workload included.

Once you've confirmed that, open a shell and run this command to update the configuration of NPM:
$ npm config set msvs_version 2019
$ npm config set msbuild_path "C:\\Program Files (x86)\\Microsoft Visual Studio\\2019\\[VERSION]\\MSBuild\\Current\\Bin\\MSBuild.exe"
Note: VERSION will be Community, Professional or Enterprise depending on your install.
Visual Studio 2017
If you have an existing installation of VS2017, run the Visual Studio Installer (Tools > Get Tools and Features...) and check that you have the Desktop development with C++ workload included.
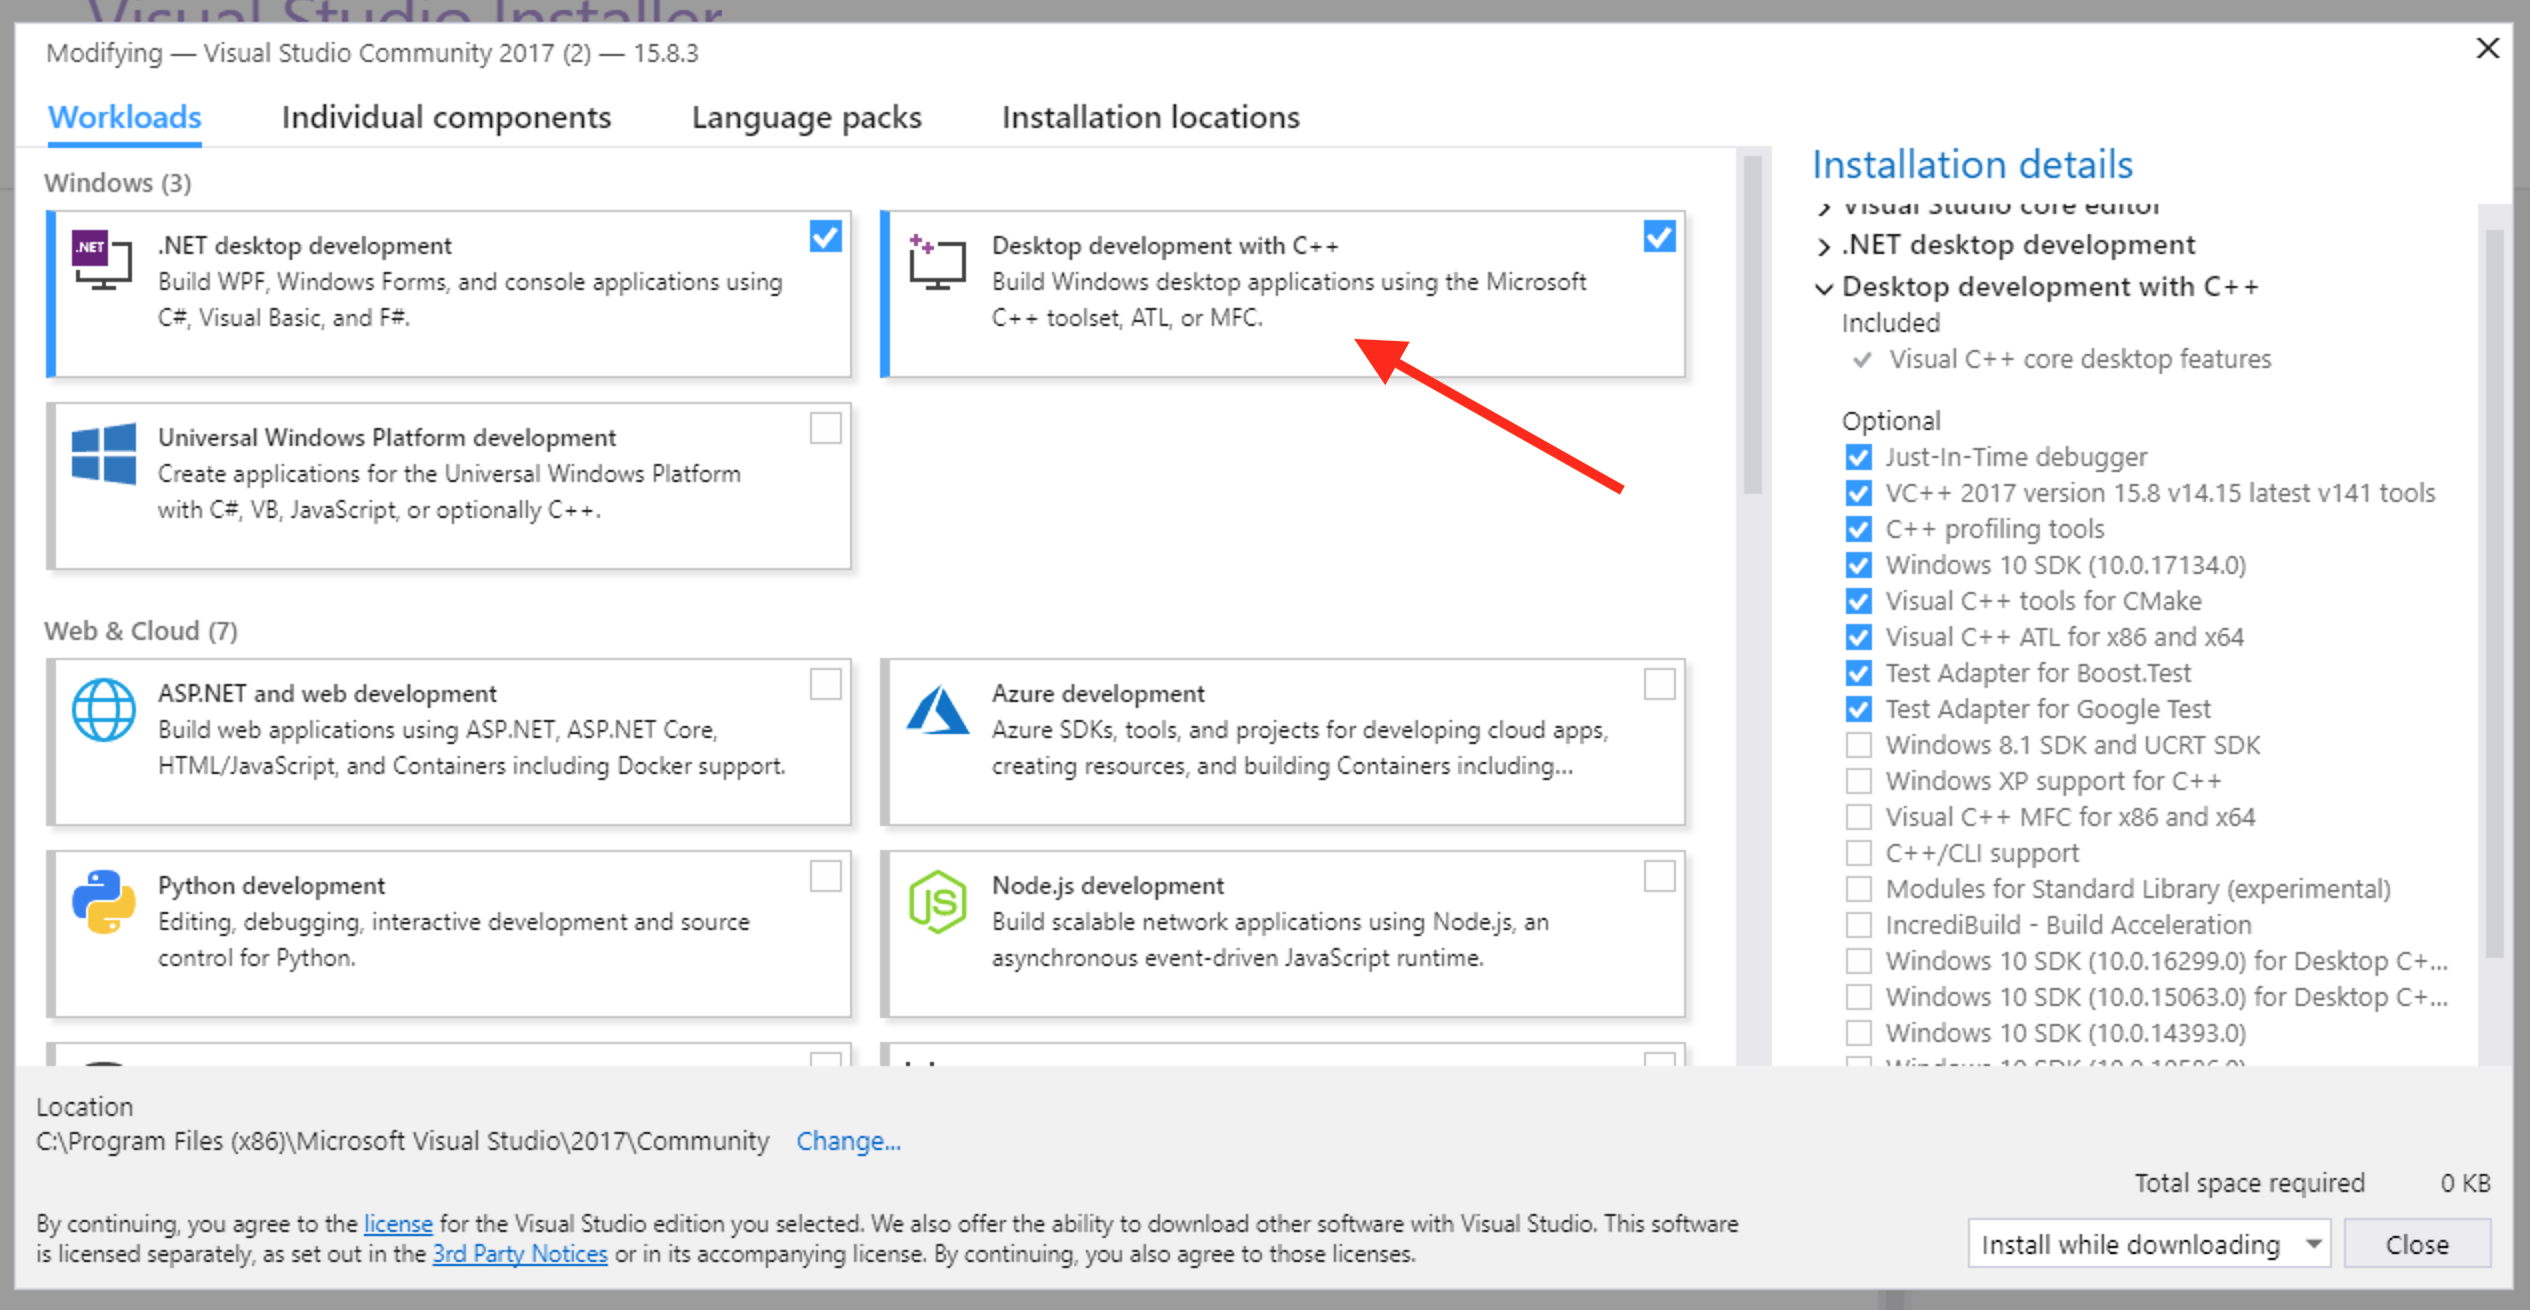
Once you've confirmed that, open a shell and run this command to update the configuration of NPM:
$ npm config set msvs_version 2017
Visual C++ Build Tools
If you do not have an existing Visual Studio installation, there is a standalone Visual C++ Build Tools installer available.
After installation open a shell and run this command to update the configuration of NPM:
$ npm config set msvs_version 2019
Troubleshooting
If your local copy gets "stuck" try deleting the folder C:\Users\[Your_User]\AppData\Roaming\GitHub Desktop-dev.
Back to setup
Once you've installed the necessary dependencies, head back to the setup page to finish getting set up.